8-Step Checklist to Ensure an Error-Free CMS Migration
Migrating to a different content management system (CMS) is a technical switch that reshapes how your team creates and shares information. When your businesses expand or shift their focus, the existing setup might hold them back. A new platform can offer better flexibility, stronger security measures, or a friendlier interface.
There are different tools that you’d use as CMS. Of course, WordPress tops the list with 43% of the market share as CMS. So, chances are you may migrate from another CMS to WordPress or vice versa. Eventually, this migration will require taking care of sloppy processes that can lead to broken links, messy databases, and frustrated users.
To counter that, we’ve created a thorough checklist based on real-world lessons that cover every key point for a smooth switch.
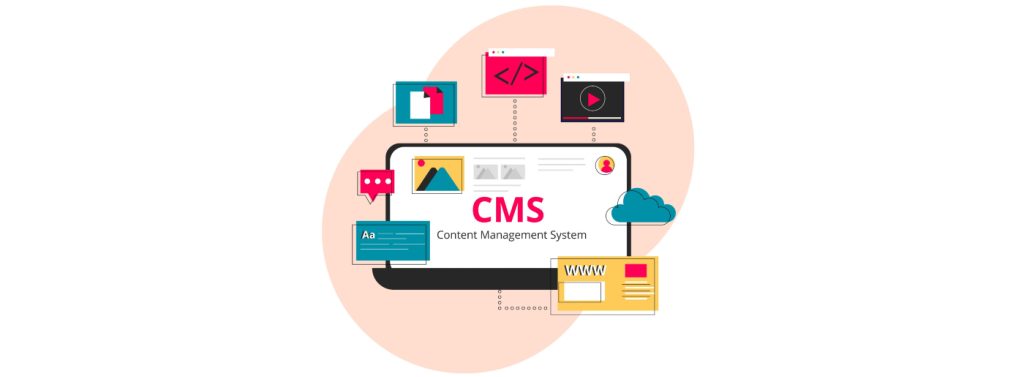
What Is CMS Migration?
The CMS migration is a process where you move the content, configurations, and user data from your old platform to a new one. Though it sounds simple, it gets tricky when you factor in different databases, plugin compatibility, and design tweaks.
Below are some of the major actions you’d take to migrate files, databases, contents, and roles to the new CMS.
- Shifting posts, pages, and media files
- Matching user roles and permissions
- Redirecting old links to new locations
- Cleaning up outdated or duplicate content
- Ensuring the new design stays consistent
Now that you know what you’d do and why, let’s find out with the help of the CMS migration checklist for error-free operations.
Checklist for CMS Migration
Switching platforms touch every part of your operation. It affects everything from how the design team arranges layouts to how developers handle code to how customers and readers interact with your content.
Therefore, you’d need a solid checklist to gain clarity at each step so no detail slips through.
Let’s find those out in detail.
#1. Pin Down Your Objectives
Switching platforms isn’t just an IT project. From day one, everyone on the team—designers, product developers, QA testers, and even the top brass—needs a common vision. Make sure you confirm why you’re moving.
Are you aiming for better performance? Do you want better customization options? You may also need a more user-friendly interface so that non-tech people can create content.
Action Steps
- Speak with stakeholders to find out what they expect from the new system
- Rank features in “must-have” and “good-to-have” lists
- Set metrics that show success (page load times, user engagement, etc.)
#2. Audit Current Site
Take a close look at the content, plugins, website templates, user data, and third-party tools in your existing setup.
Here’s what you’d look out for at this site:
- Content inventory to Identify well-performing posts or pages
- Plugin/module list to see which are active and which can be cut
- Broken or outdated links that may cause SEO hits during the move
- Exporting a full site map using tools like Screaming Frog can help gather every URL.
The action steps here are:
- Creating content catalogs: Check which blog posts are performing well and which pages might be missing critical details.
- Create a list of active plugins or modules: Decide which ones to keep, replace, or drop.
- Check for custom code: Look for hidden scripts or hardcoded features that might break in the new environment.
#3. Choose Your New Platform and Test
Before finalizing the new system, run a proof-of-concept on a test server. Let QA testers and some real-world users poke around.
For this, you’d typically set up a pilot environment to install the new system, where the QA team, developers, and maybe even a client or two would examine it.
Gather feedback right away, then make tweaks to save a fortune in time and frustration later.
Here’s what you’ll do:
- Focus on performance: Check page load times, caching, and how the system handles stress tests with multiple users.
- Look at design flexibility: Confirm that the new themes or templates can do what you want without painful workarounds.
- Review plugin availability. Ensure that the essential features (contact forms, SEO tools, analytics) are present.
- Inspect user experience: Confirm that content authors and editors find it simple to create pages or make changes.
#4. Set Up a Sandbox Environment
A sandbox prevents errors on the live site. In it, you’ll clone the database that mirrors your production setup, test plugins, or explore design changes without affecting end-users.
To set up this environment:
- Copy your current site and database to a staging server
- Set up the new CMS there
- Keep access limited to your key team members
- Scrub or mask sensitive data if needed for privacy regulations
- Copy over plugins or modules so that if something breaks, you know the issues.
#5. Plan the Data Transfer
Moving content from one platform to another may present various challenges. To avoid issues like mismatched fields or encoding errors, move data in smaller chunks.
Data transfer in CMS migration requires the following considerations:
- Posts and pages: Check if you have access to a built-in exporter or importer. If not, rely on scripts or a trusted CMS migration plugin.
- Users: See if the new system can handle the same user roles and permissions because mismatched roles can lock people out or grant them unnecessary access.
- Comments or reviews: Keep threads intact. Losing this history can hurt your engagement metrics.
- Media assets: Images, PDFs, and videos can increase the size. Also, check if file paths match in the new system to avoid 404 errors.
#6. Map URLs and Redirects
Broken links can be a big challenge for CMS. So, right after launch, you’ll need to test these redirects with a tool like Screaming Frog or a server log analyzer. That extra step keeps your SEO juice flowing and prevents nasty 404 surprises.
Take the following actions here:
- Generate a full list of existing URLs to refer back to your site map.
- Define the new URL structure to pick short, descriptive slugs for top-level pages if you’re reorganizing.
- Create 301 redirects where you’ll set up 301 redirects for each old URL to the new page or the closest match.
#7. Run Full Testing Cycles
Testing should happen at multiple stages, but a final deep dive before going live is a must. Involve designers, product developers, QA testers, and anyone else who can give a fresh set of eyes.
You’ll need to document all test cases and results and monitor error logs to spot subtle issues, such as database warnings or script timeouts.
The full tests should include the following checks:
- Functionality: Do forms submit data correctly? Are user registrations working? Do payment gateways (if any) handle transactions without errors?
- Cross-browser checks: Confirm the site behaves as expected in Chrome, Firefox, Safari, and Edge.
- Load and stress tests: Use tools like Loader.io or Blitz to see how the site handles traffic spikes.
- Accessibility: Check color contrasts, use alt tags, and confirm keyboard navigation for users with assistive needs.
- Bug tracking and issue logging: Use bug tracking software to document and prioritize any errors found during testing. It is useful to keep the migration process transparent so that developers, testers, and designers are aligned on fixing issues before launch.
#8. Launch and Verify
Plan your go-live schedule for a time that won’t disrupt your core user base. Late at night or on weekends might be ideal, though that varies by region.
Also, after the DNS updates, you’ll need to test the site on different devices and networks to confirm that pages load without abrupt slowdowns or missing content.
Key steps to consider here are:
- Take a full backup of everything — old site, database, and new environment so that you can roll back if anything goes off track.
- Run the CMS migration script or manual steps to transfer the final data over and activate your new site.
- Clear or reset caches from the browser, server, and plugin.
Wrapping Up
Switching to a CMS is a big deal, as it affects everything from code to design to user experience. If you cover the items in this checklist, you’re in a better spot to avoid nasty surprises.
The best advice? Test early, test often, and bring all team members on board from the very start.
This checklist lays out the major considerations so your team—designers, QA testers, developers, and decision-makers—can work together without missing important details.


Leave a Reply